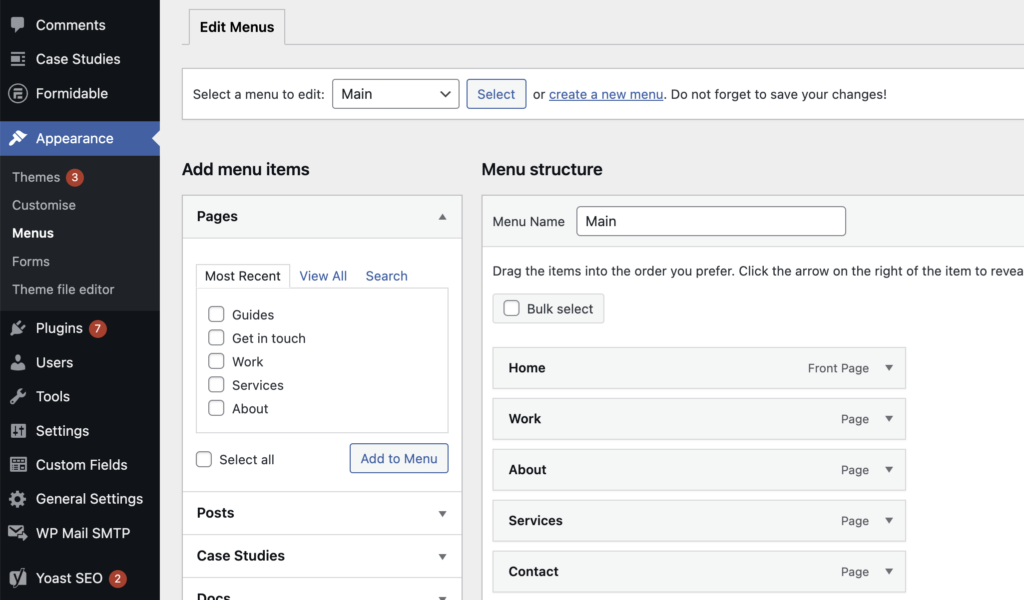
WordPress comes with a pretty powerful navigation system built in, allowing you to create and manage multiple menus within your website. For example you will usually have a Main Menu at the top of the page, with a lot of websites also having secondary menus in the footer. To get started with these, open Appearance > Menus in the admin section:
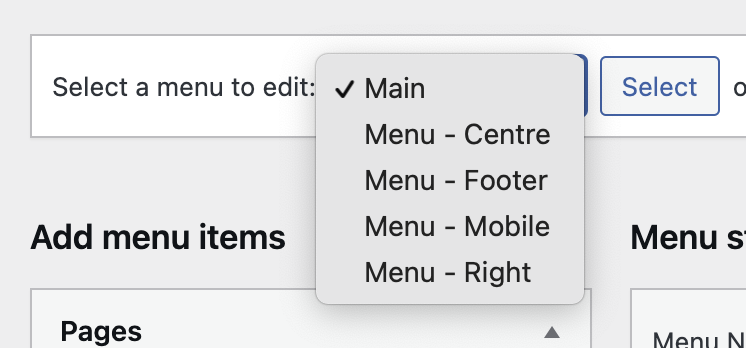
Choosing a menu to edit #
To choose a menu to edit, simply select the dropdown at the top of the page and click select:
Adding menu items #
To add a new page or post to your menu, use the item navigator on the left hand side to locate your page:
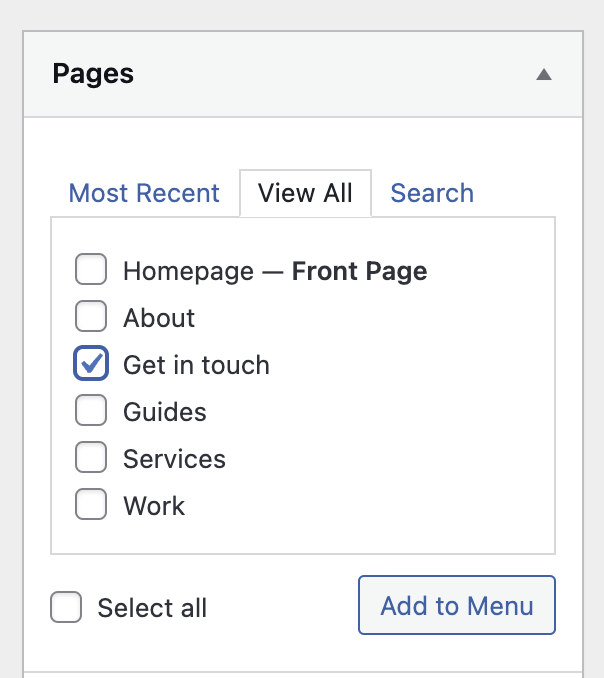
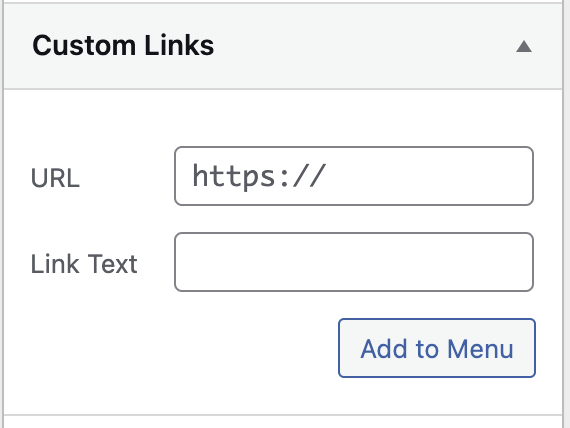
Tick the page or post you’d like to add then click Add to Menu. You can also add Custom Links if the page you want isn’t there or it’s an external website:
Moving Menu Items #
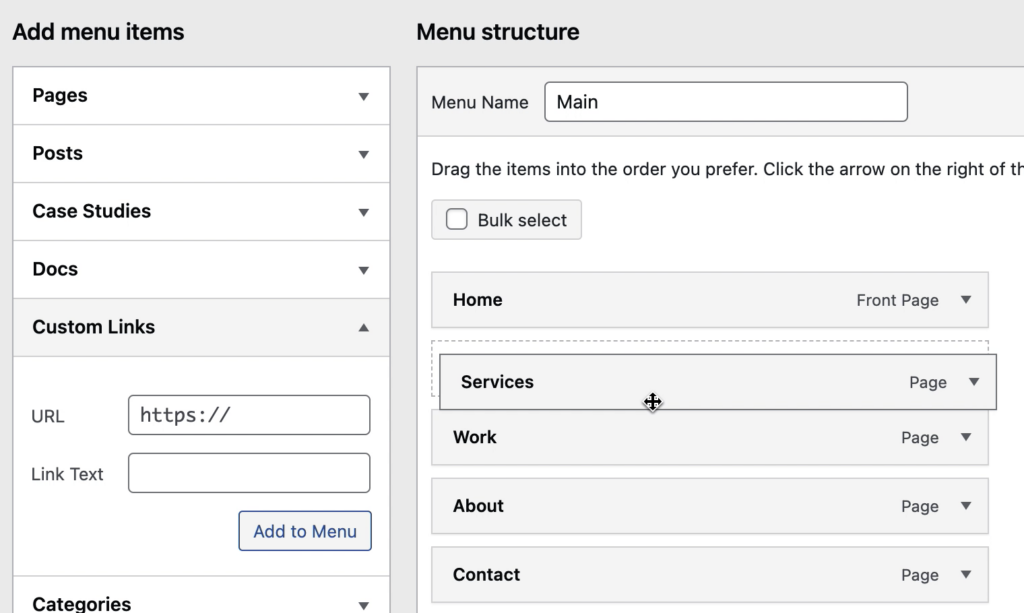
WordPress allows you to reposition menu items by simply clicking on the title of your page/post and dragging it in to a new position:
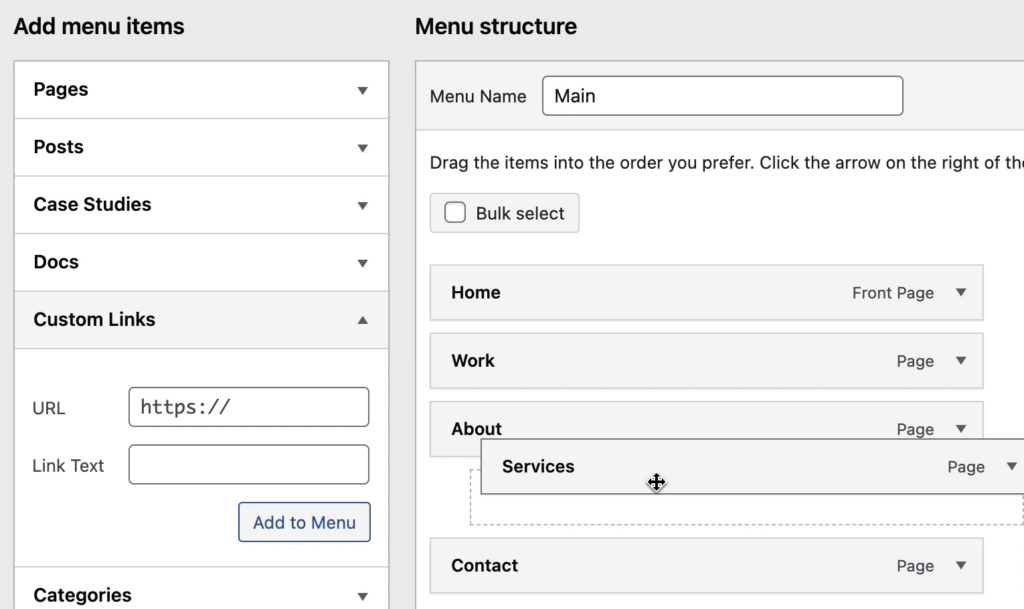
If your menu has a dropdown option to have child pages, you can drag your page over to the right slightly to indent it under a parent. This creates a submenu. Please be aware not all websites support this:
Removing menu items #
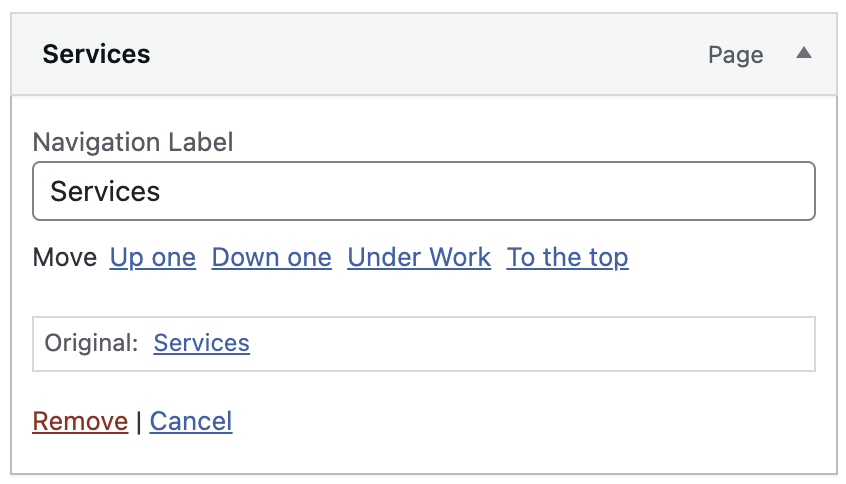
To remove a menu item, simply click on the menu item you’d like to get rid off then hit Remove:
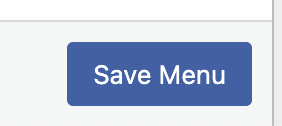
Save your changes #
Remember to always save your menu changes by using the blue Save Menu button at the bottom right of the page: