When working with WordPress websites built by ourselves, you will find that a lot of areas of your website will be powered by what are known as ‘Flexible Content Blocks’. This is a system that allows us to create a number of components for your website that give you full control over how a page looks and how your components are structured.
For example, if you look at the homepage of this website you will see our homepage banner block. This comprises a title, a description, a button and a video. Just below this you will see a logo block, which allows us to specify an intro paragraph (Over the years…) and then add a number of logos to display. Following that we have an experience block, then a case study listing block.
With Flexible Content Blocks, I have the power to change the content easily, remove blocks, add new blocks, move blocks up and down the page.
Adding / Removing / Moving #
Adding New Blocks #
To add a new block to a page/post, first of all scroll to the bottom of your existing blocks where you’ll find a button labelled Add Row or Add Block
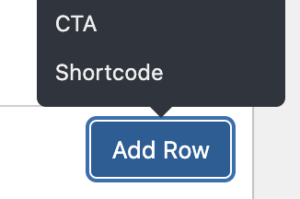
This will reveal a tooltip that has a list of all the blocks available to you on your website. Simply click the block you’d like to use and it will insert it at the bottom of the page empty and ready for new content:
Inserting Block before another element #
If you want to insert a block before one of your existing elements, this is also incredibly simple. Simply hover over your existing block title to reveal some little icons:

You will now see a plus icon top right, clicking this will reveal your list of blocks as above, but this time selecting one will insert the block above Homepage Banner.
Removing a Block #
To remove a block, simply hover over the block title (as above) to reveal the three icons. You then just need to click the minus icon which will then prompt you to confirm you’d like to remove the specified block:
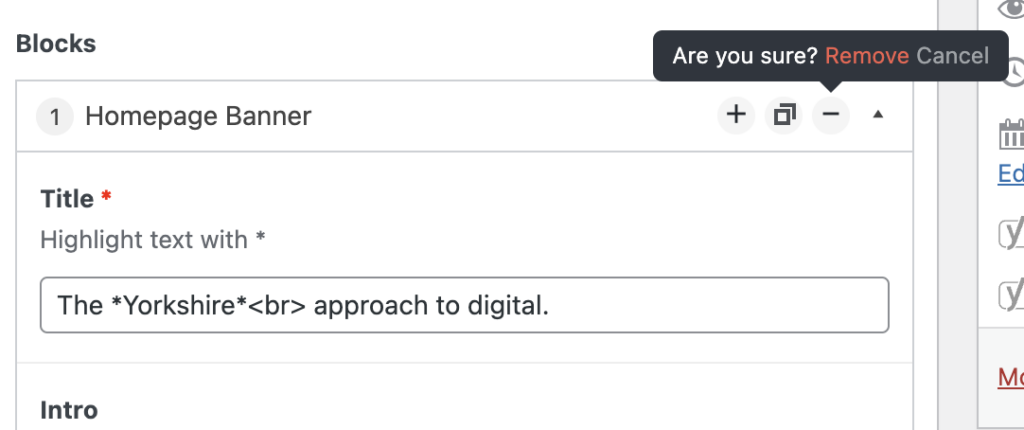
Simply click Remove to confirm your choice and the block will be removed. Alternatively click Cancel if you’ve changed your mind.
Cloning a Block #
To clone an existing block, simply hover over the title (as above) and click on the middle icon (the two squares). This will copy your block and insert it directly below your chosen block. You can then update the content.
Moving a Block #
To move an existing block up and down, hover over the title of the block (for example Homepage Banner) and you will see your cursor change to the 4 arrow icon:
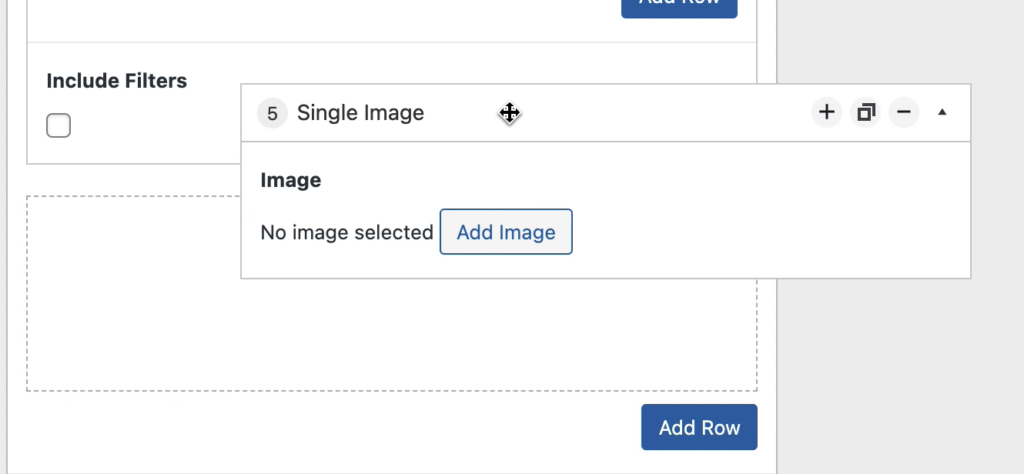
Click down, hold and drag your element up and down. You will see as you do this it swaps positions with other blocks on the page.
Block Types #
There are a number of different types of blocks available to you. Each block can be a different type. For example, we might have a Gallery block, a text block, a repeater block or otherwise. Below you will find some documents to explain the different types and how you work with them.
Repeater Blocks #
A common block that I use is called a Repeater. This is a block that allows you to add content that can be repeated. For example, an FAQ block where you can add multiple questions would use a repeater.
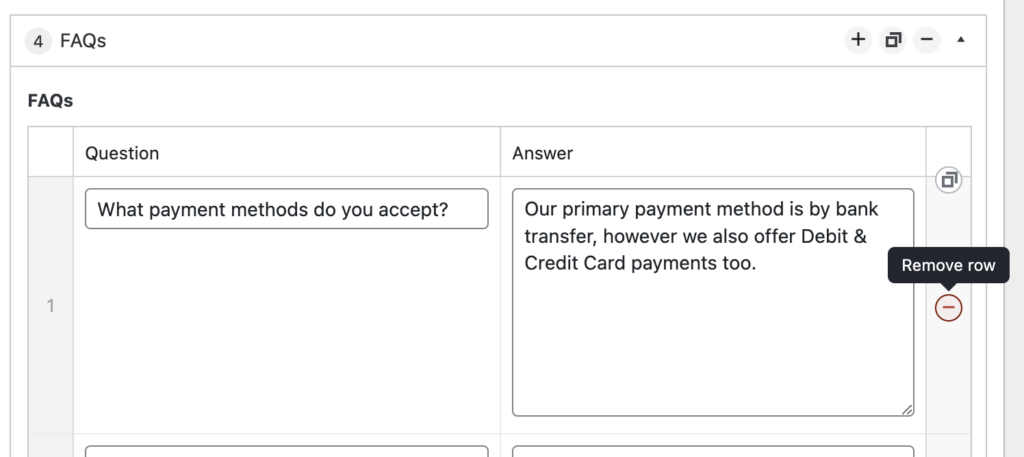
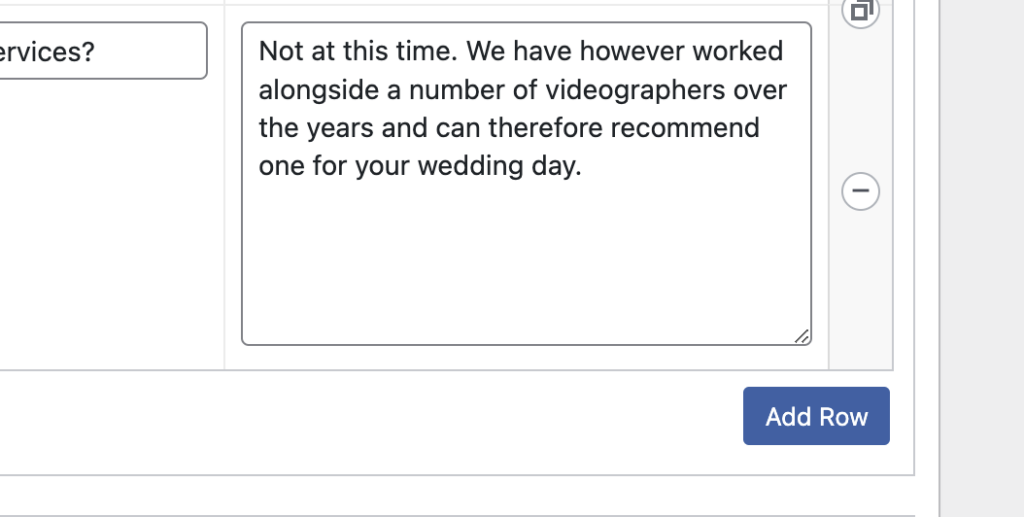
With a repeater you have the option of dragging and dropping a row by simply clicking and dragging from the row number (see above – 1). You can clone existing rows using the little square icon highlighted above, remove rows by hovering over the right hand side and clicking the minus icon (seen above) and you can add new rows:
Gallery Blocks #
A gallery block is exactly as described, it allows you to add multiple images to your field. The block looks as below:
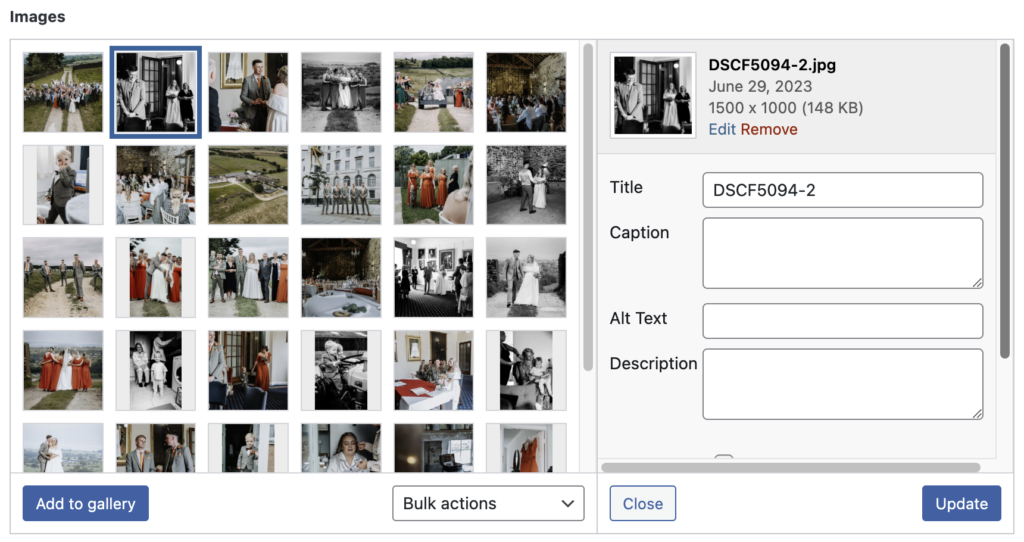
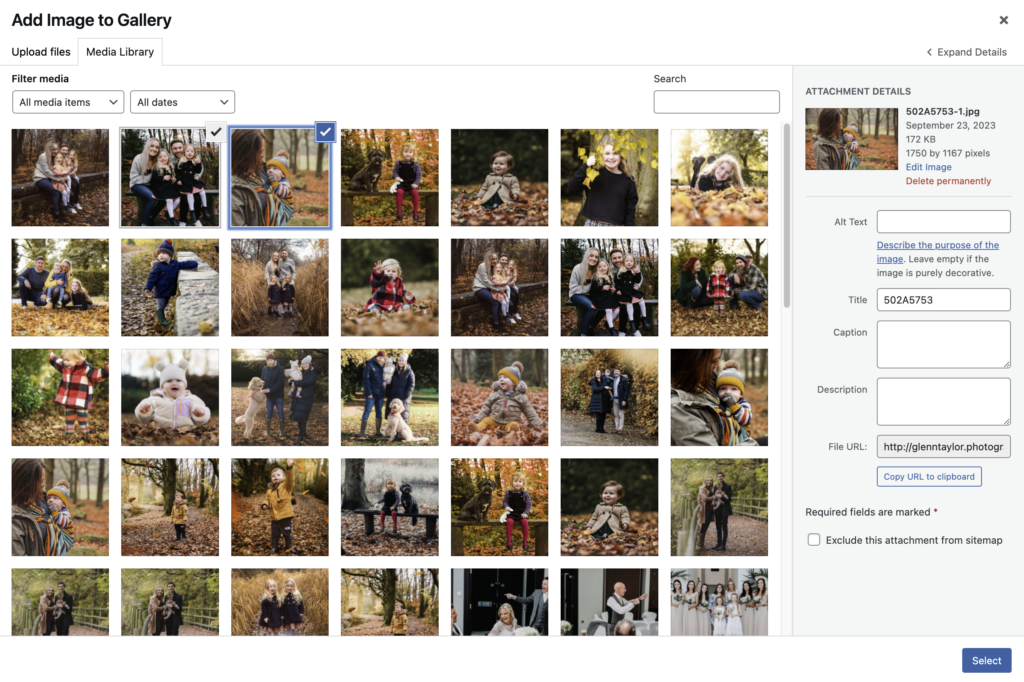
To add new images to the gallery, click Add to gallery. This will open the media library where you can select the images you want to add (here you can tick multiple), once you’ve selected simply click the blue “Select button” at the bottom right”
Images #
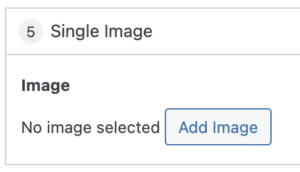
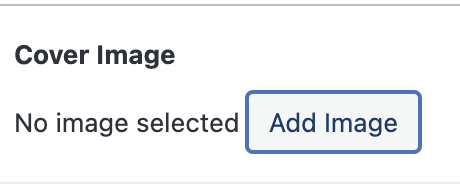
Image fields allow you to add a single image. Start by clicking the Add image button, then selecting your image from the media library (as above).
This will then show the image you’ve selected in place.
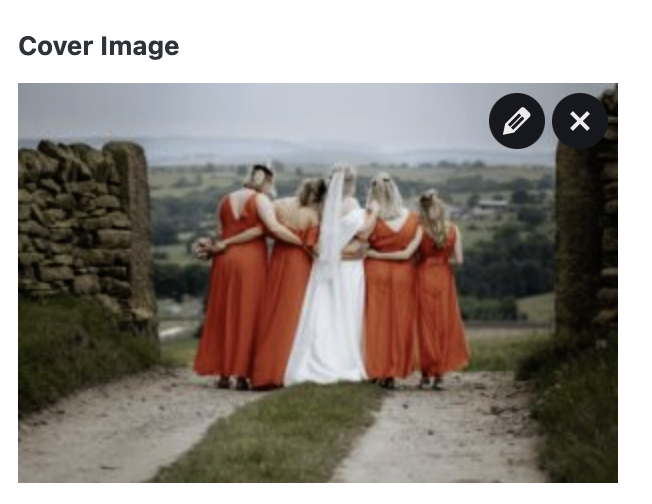
To replace the image, hover over your existing image and choose the cross icon. You can also update the title/meta data (used for SEO) by clicking the little pencil icon:
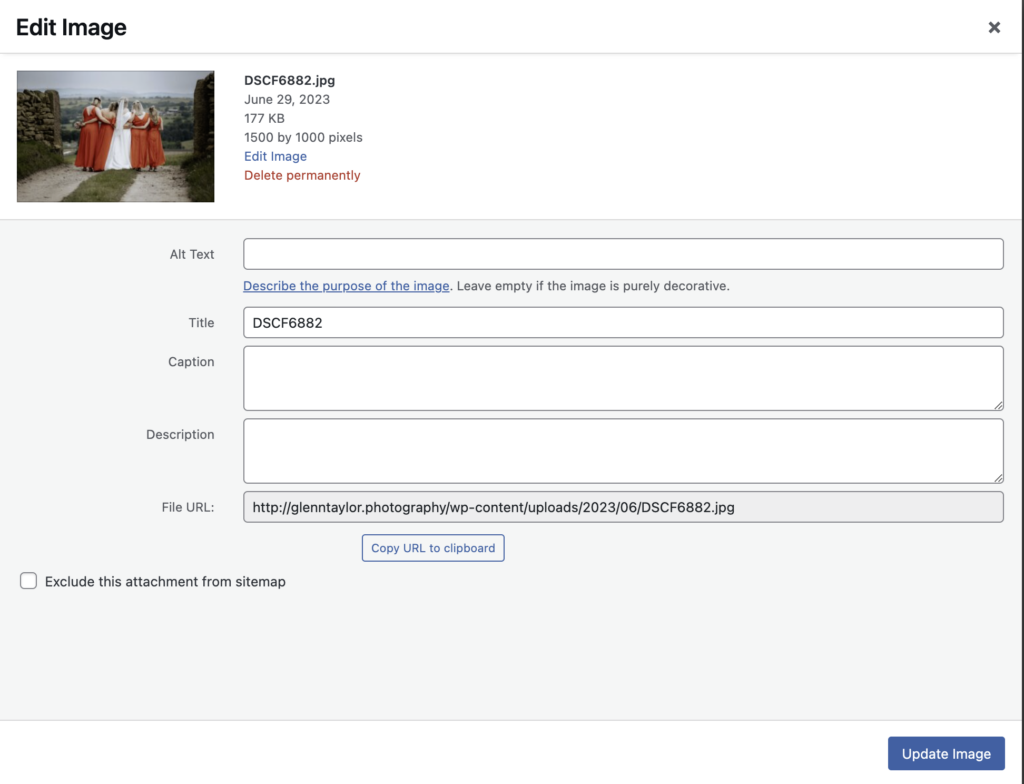
Simply click the blue Update Image button to apply your changes.
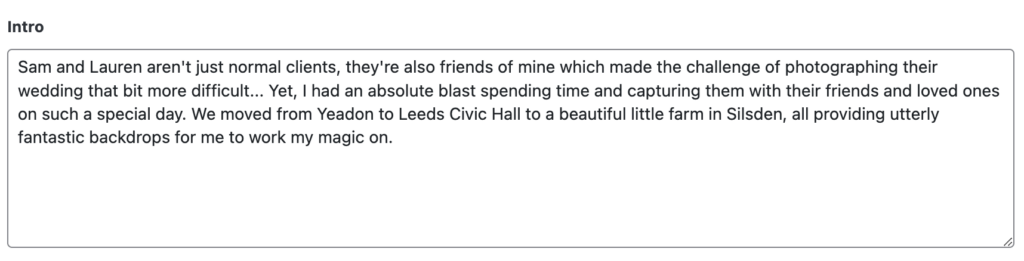
Text Area Fields #
A text area field is a very simple field, it allows you to enter content exactly as you wish. The text area field doesn’t allow you to add any formatting (bold/italic etc…), this ensures the website remains consistent on the front end.
Text Field #
Similar to the text area field, the text field allows you to add a small amount of text to populate part of your page:

WYSIWYG Field #
WYSIWYG stands for What you see is what you get and is the approach taken by editors such as Microsoft Word. I tend to use these very sparingly on my client built websites as they offer the power to change colours, formatting, alignment and much more which can impact the overall look and feel of the website. These are likely to be seen on pages such as Privacy Policy where multiple headings and links are required.
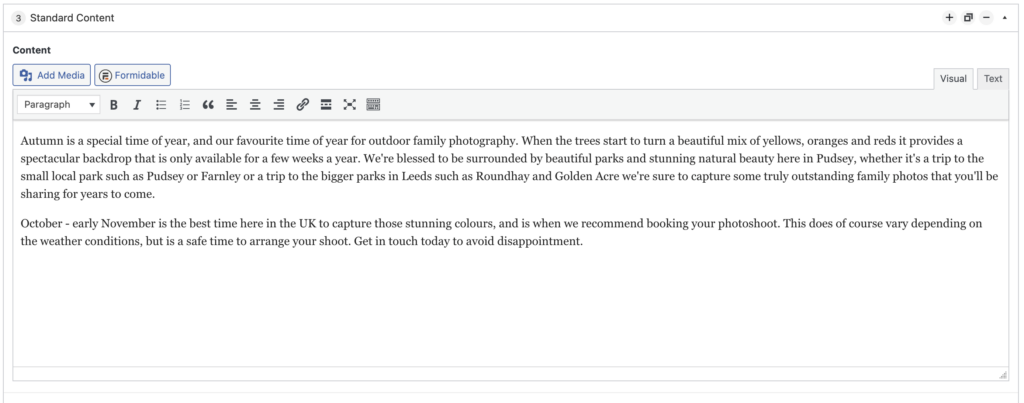
There are multiple formatting options available through these fields, which are all accessed across the top toolba:
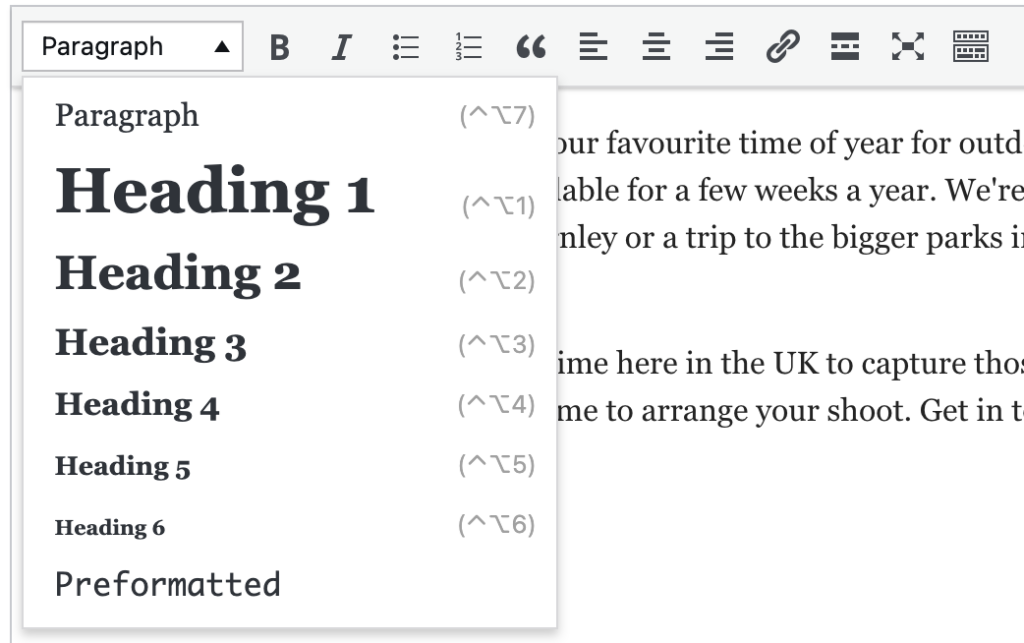
To apply any of the formatting options, you first need to highlight a piece of text within the editor then click the formatting option you want. The dropdown Paragraph option allows you to change a line of text in to a heading. Please refrain from using Heading 1 fields, these are generally already set within the banner blocks available to you.
On the bar above you can see bold, italic, unordered list, numeric list, quote, left align, centre align, right align, add a link. These are the options you are most likely to use. You are also able to add images by the “Add Media” button which will open your media library (see earlier fields for an example).
To add a link, simply highlight your text and click on the little chainlink icon:
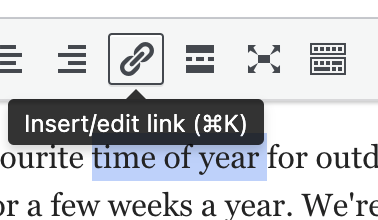
Then just type your URL. If it’s a link to a page on your website, I recommend only using the relative part of the URL for example if your website is https://mywebsite.com/about-us/ only use /about-us/ don’t include https://mywebsite.com.